Contact
Skip to primary navigation
Skip to main content
Skip to footer
Happy Hands Project
Calligraphy by Pauline Ibarra
I want to find...
Home
Workshops
Private Calligraphy Events
Terms and Conditions
Services
Weddings Suites
Onsite Events
Custom Art
SHOP
Etsy
Prints
Digital Assets
Press
ABOUT
Contact
Blog
bright ideas
No categories
Calligraphy Printed Coffee Mug
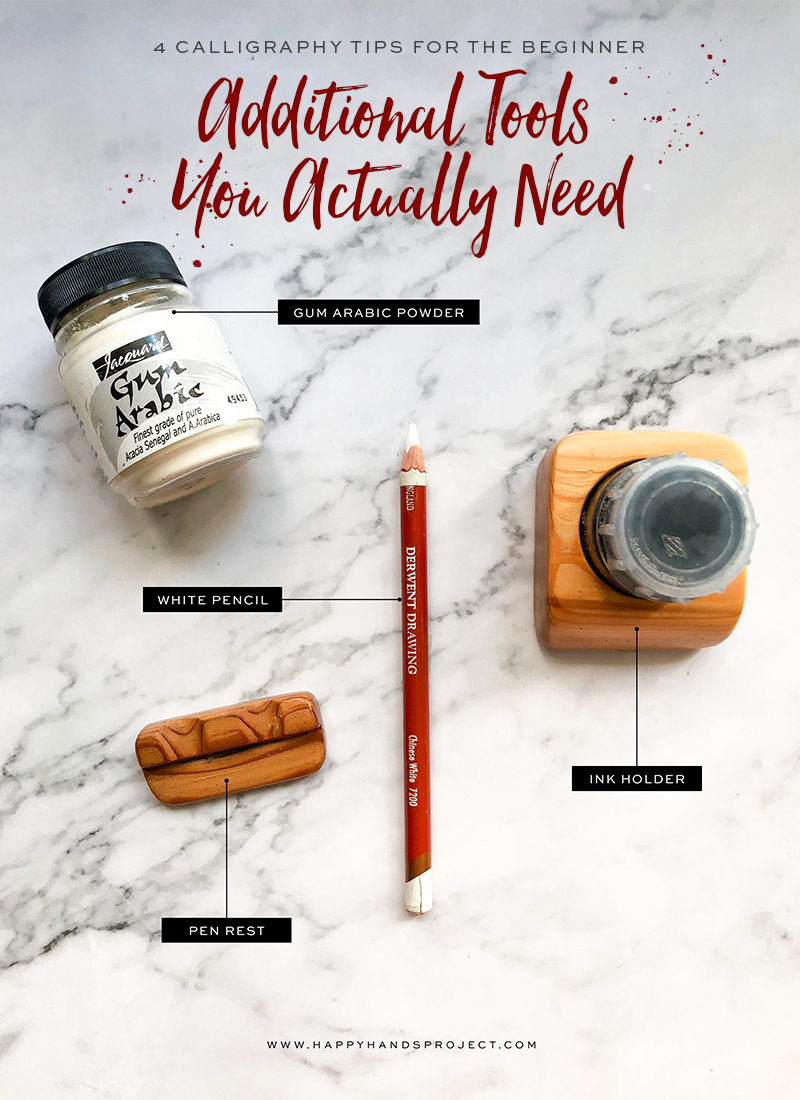
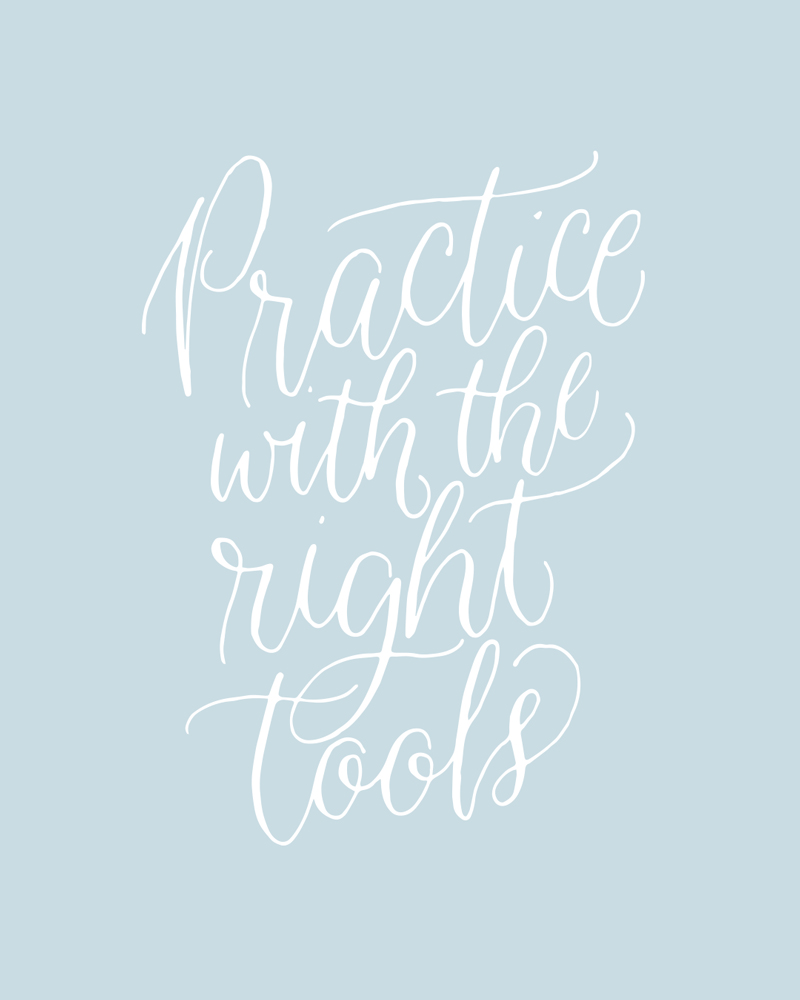
4 Calligraphy Tools That Make Writing Easier
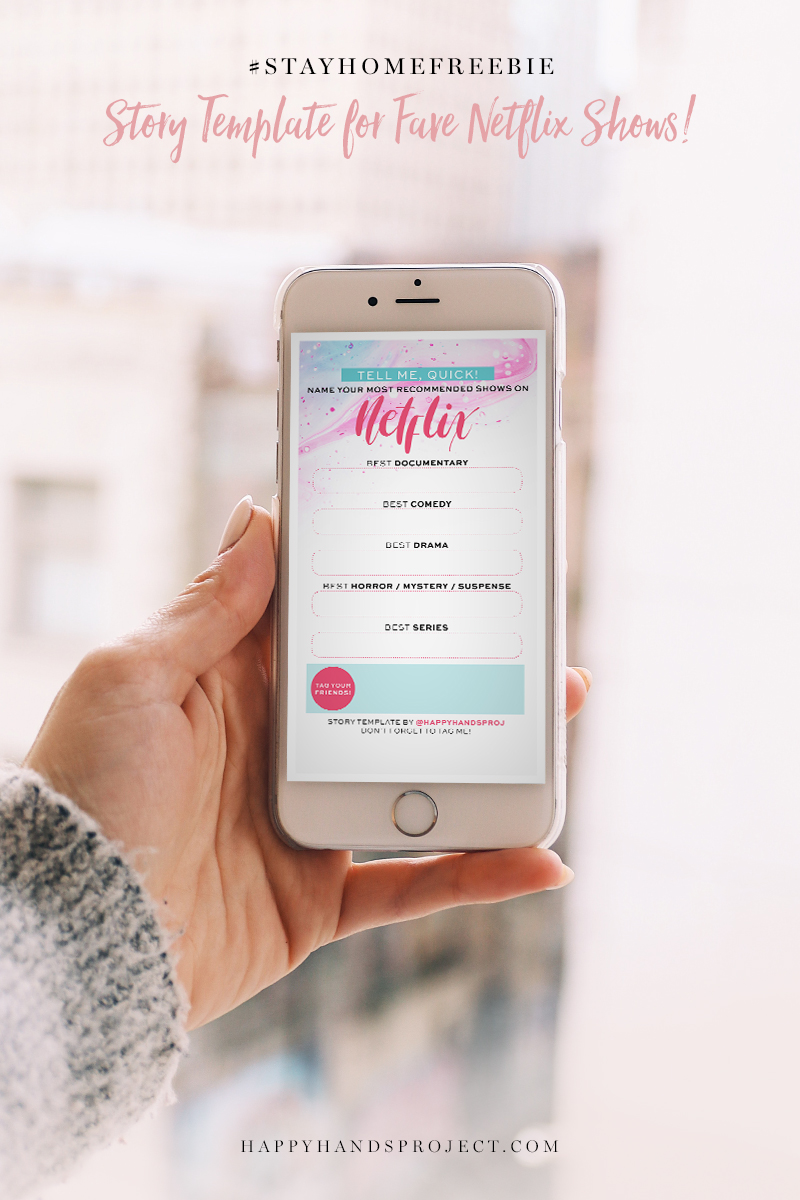
Stay Home Freebie: Instagram Story Template
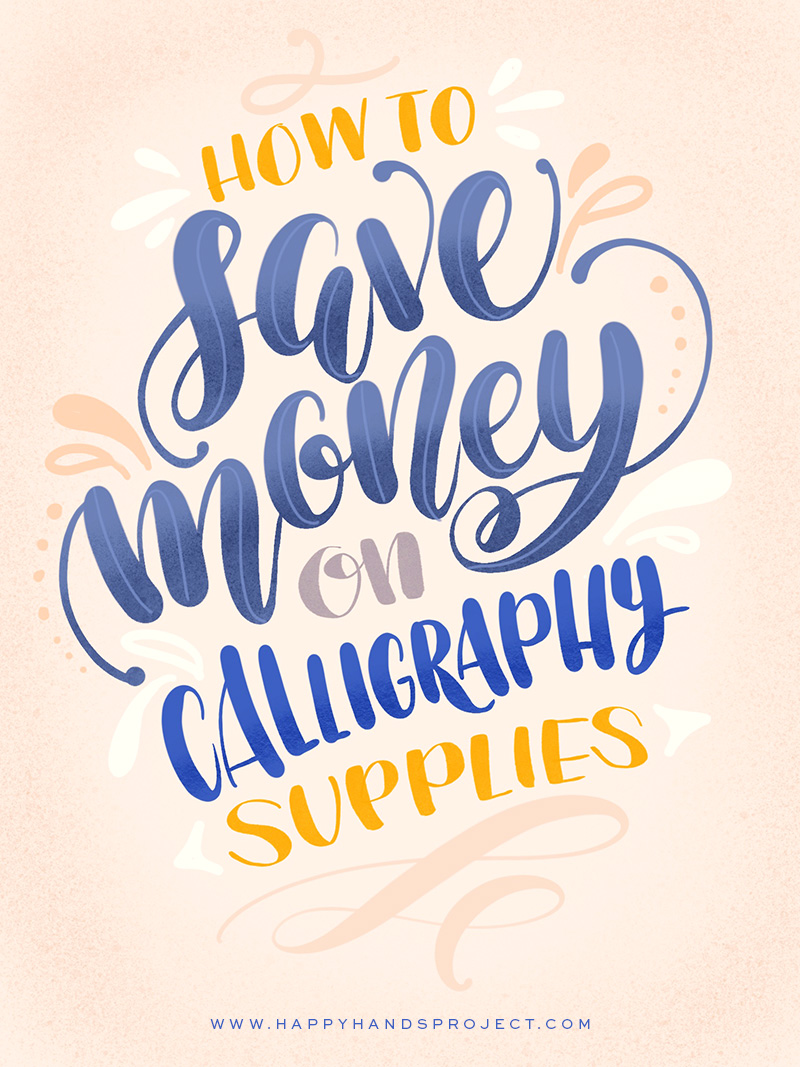
8 Ways to Save Money on Calligraphy Supplies
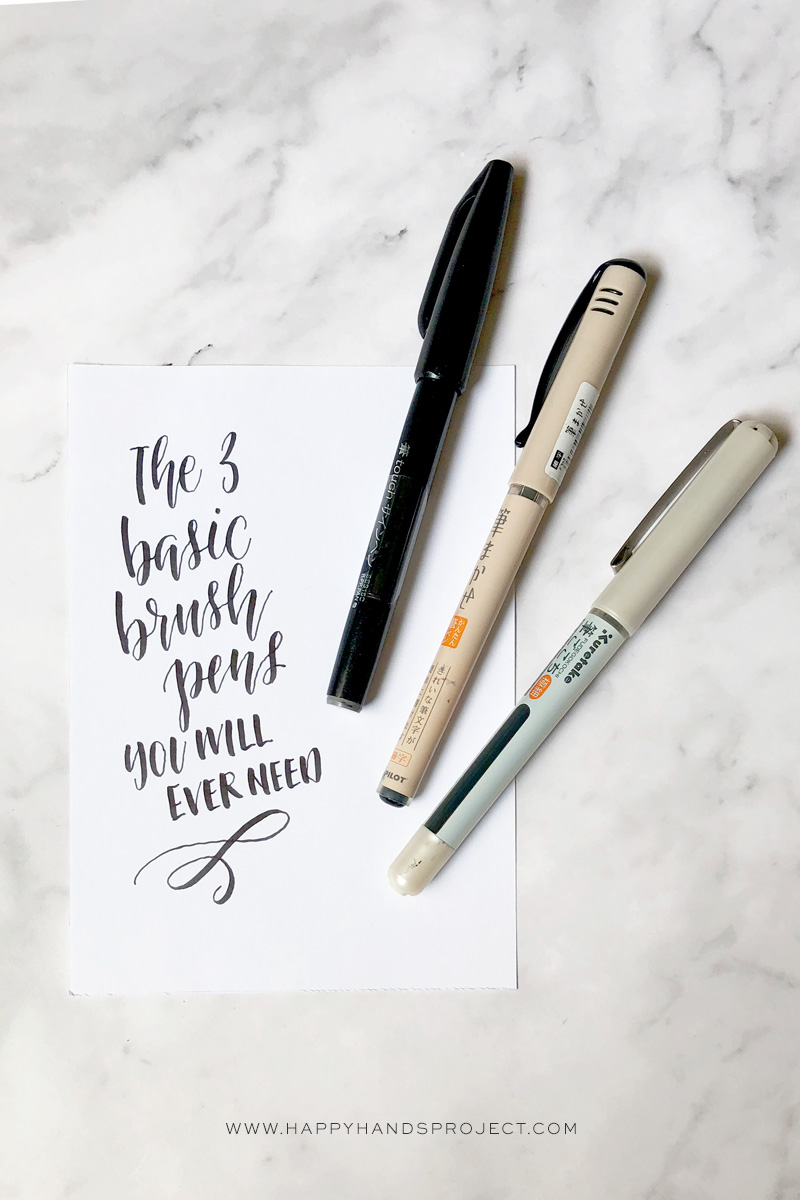
3 Brush Lettering Pens You Will Ever Need
6 Reasons Why A Creative Workshop Is Good For You
The Ultimate Calligraphy Supplies Checklist
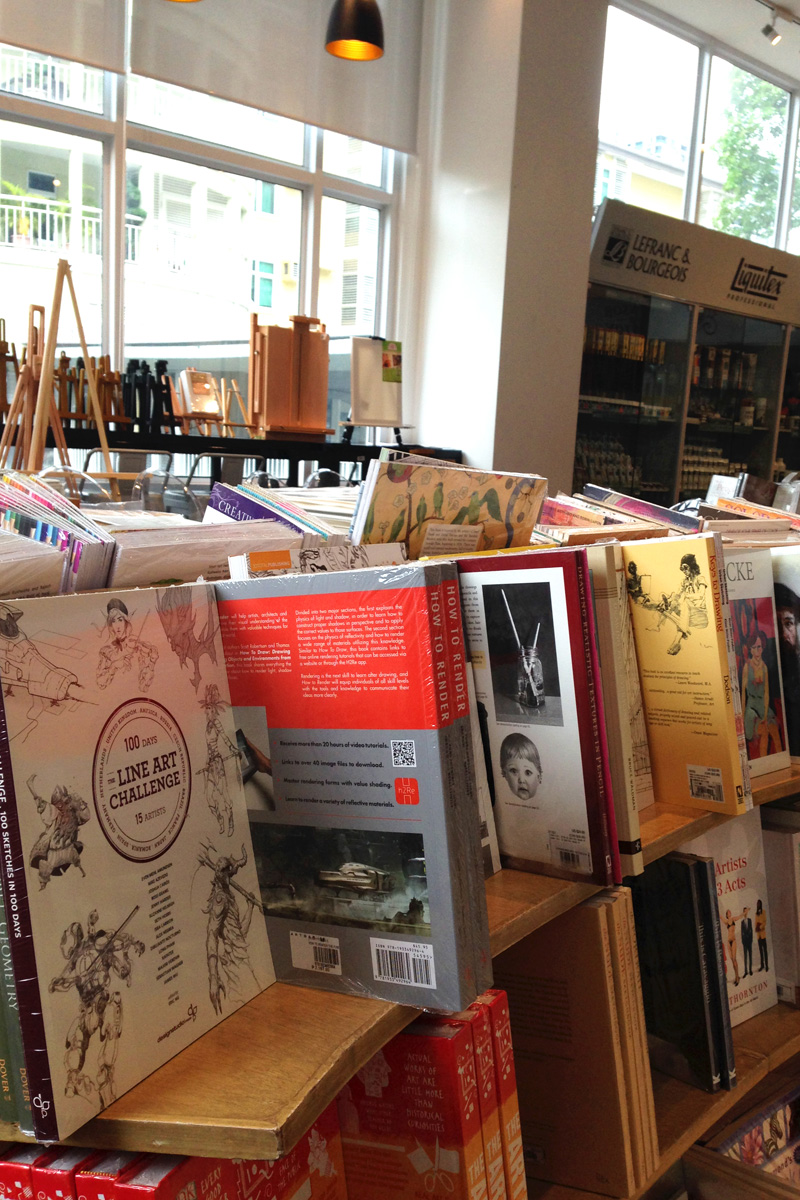
When In Manila: A Visit to Art Bar PH
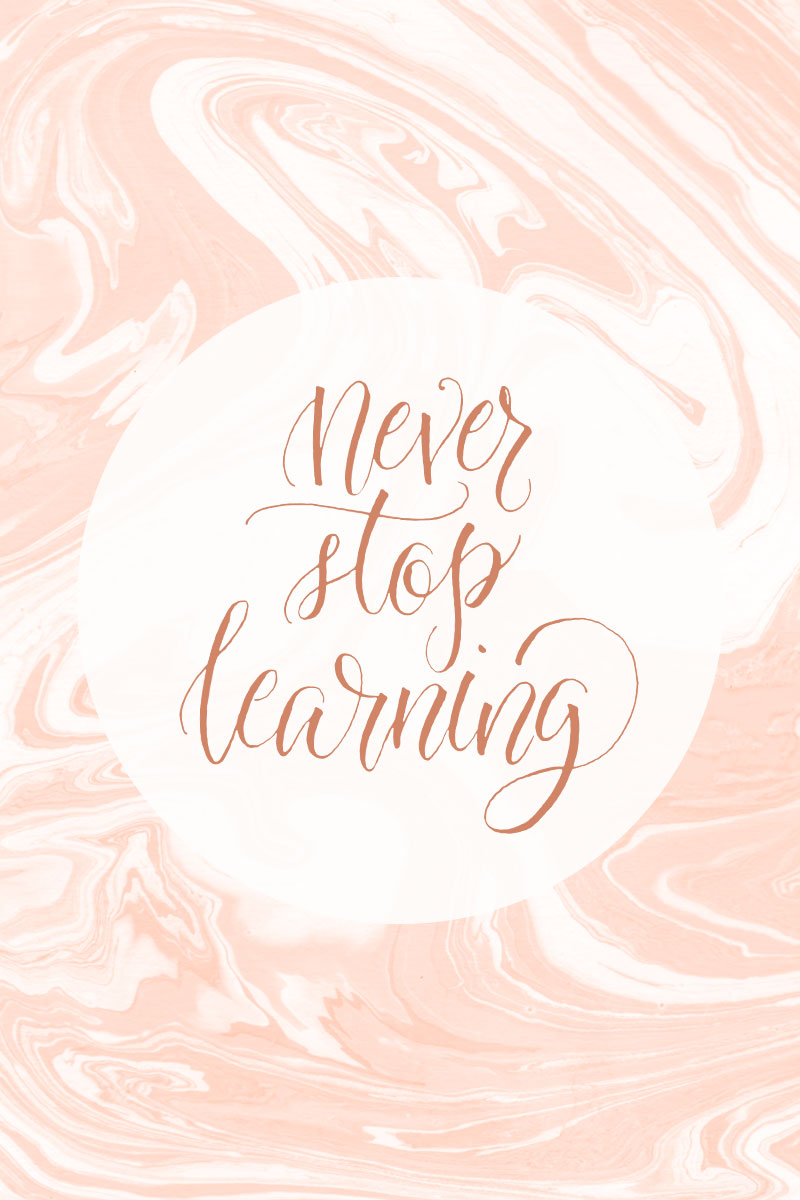
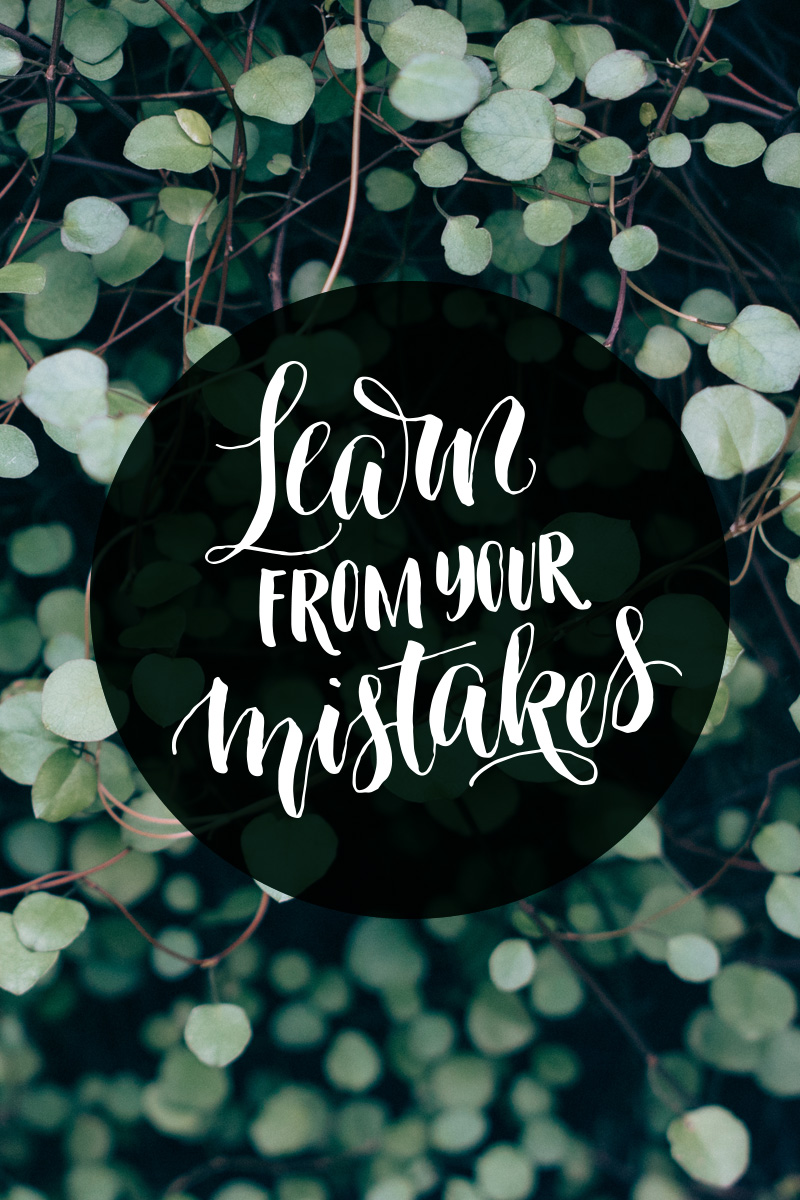
4 Tips for Getting Better at Calligraphy: Learning From Your Mistakes
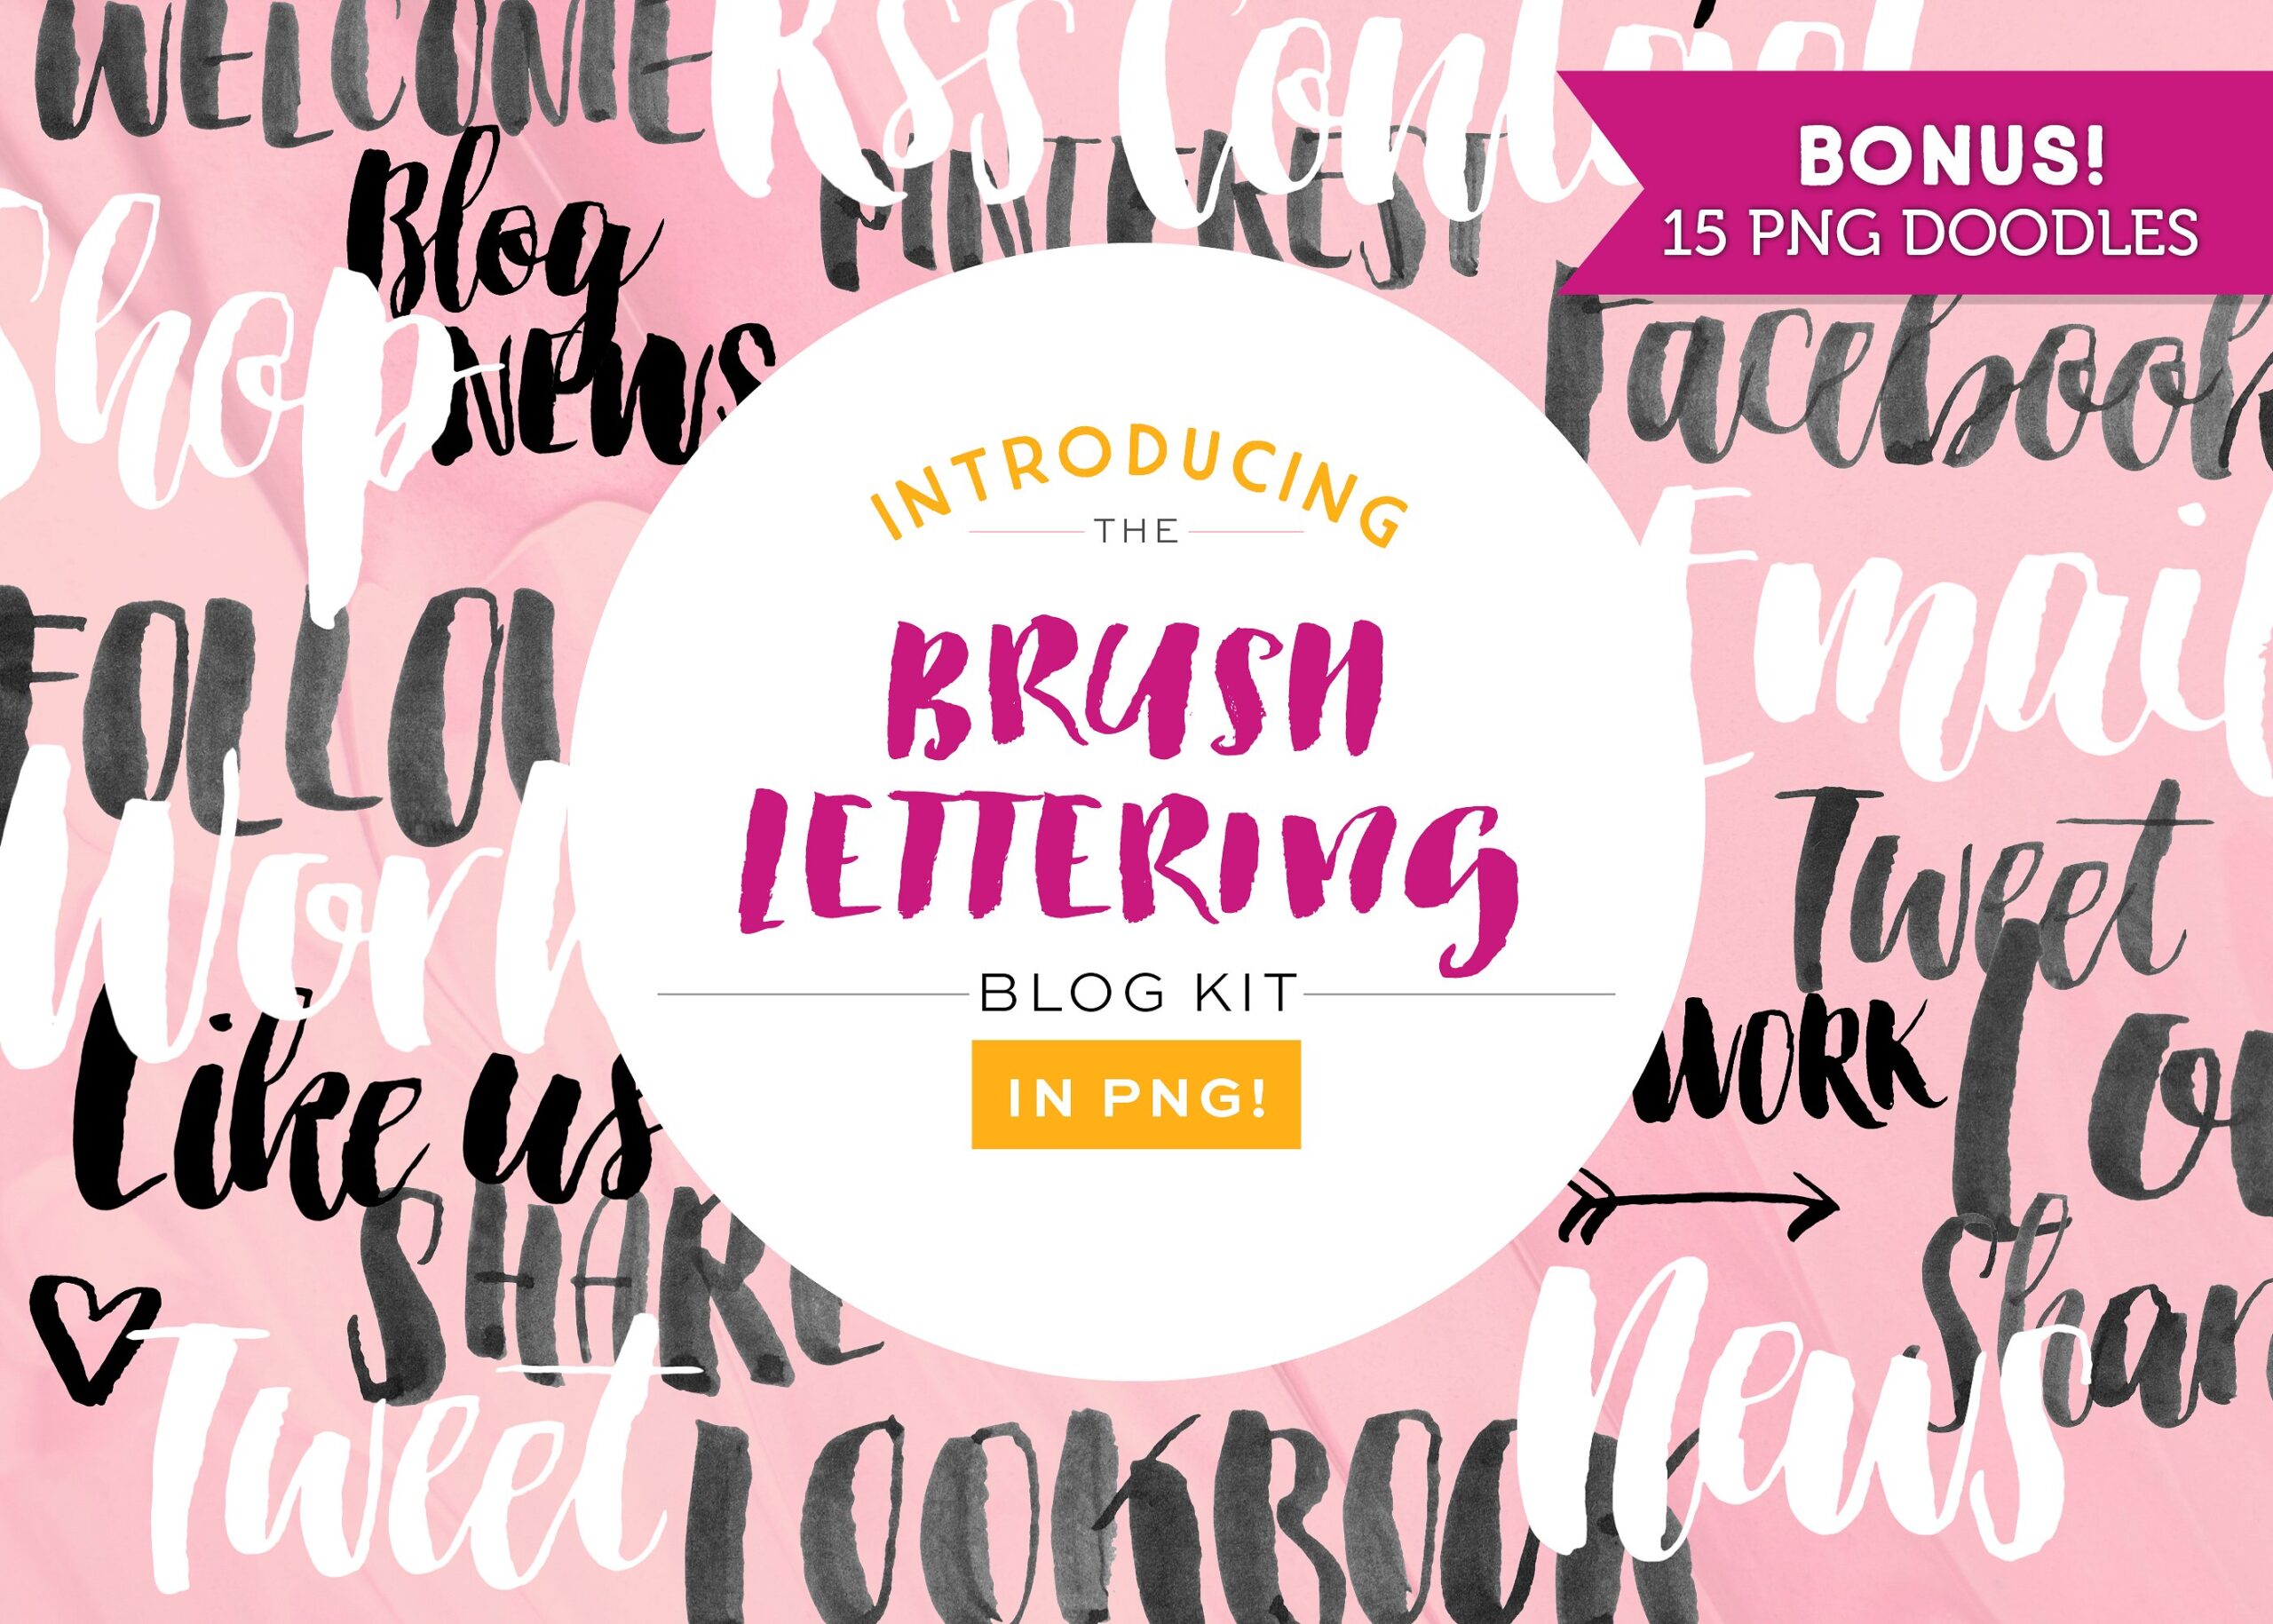
Watercolour and Lettering Goods on Creative Market
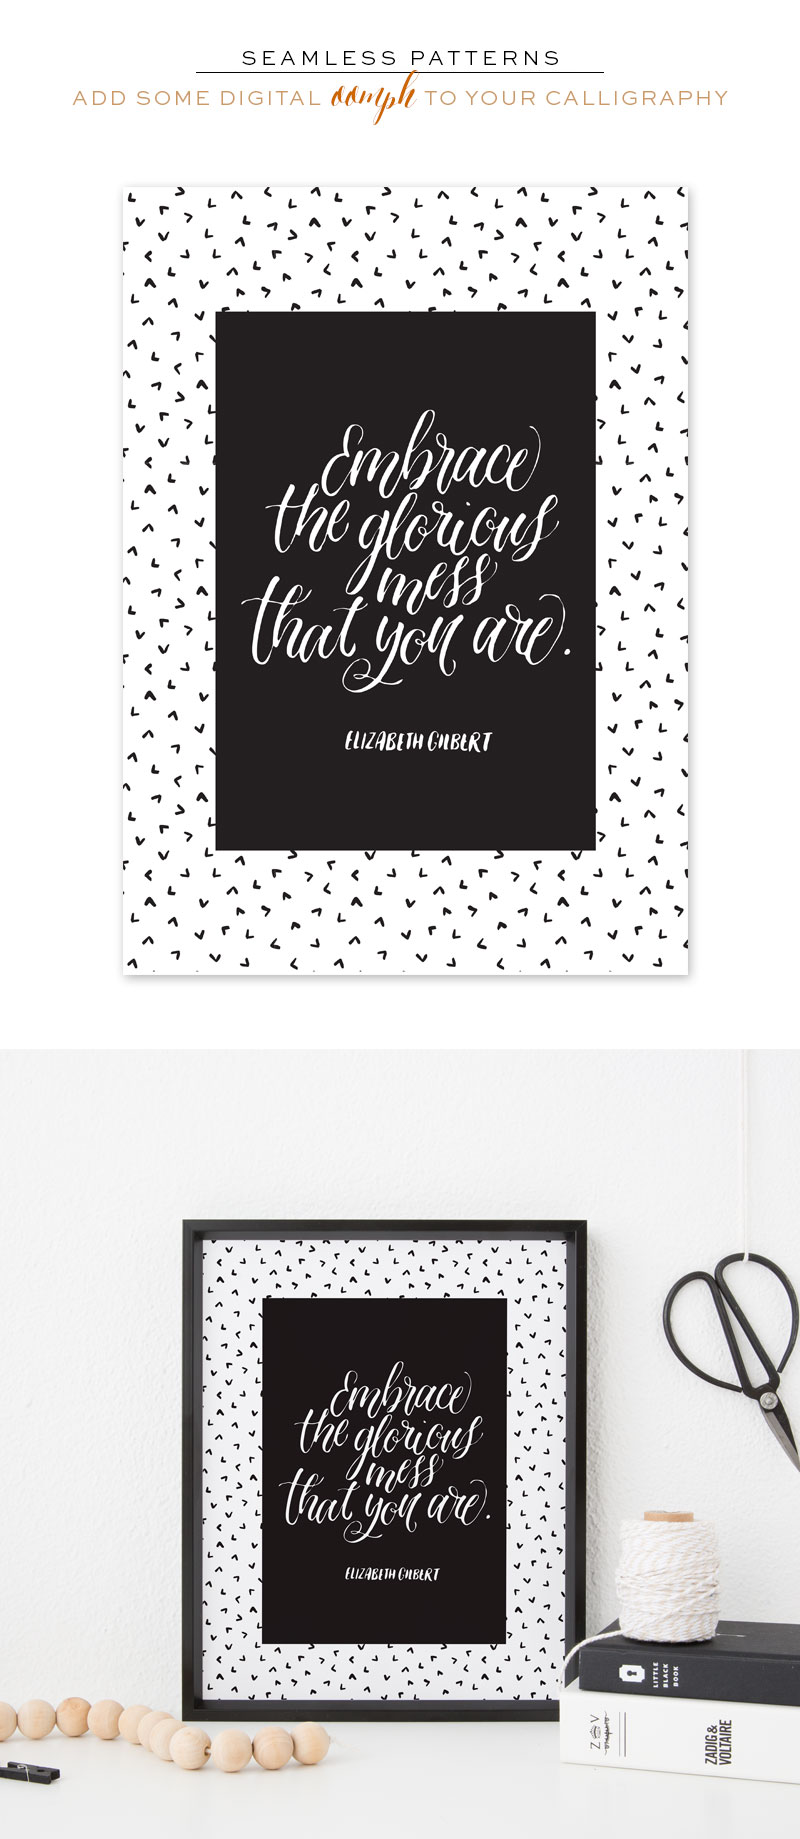
Digitizing Your Calligraphy: Adding Seamless Patterns
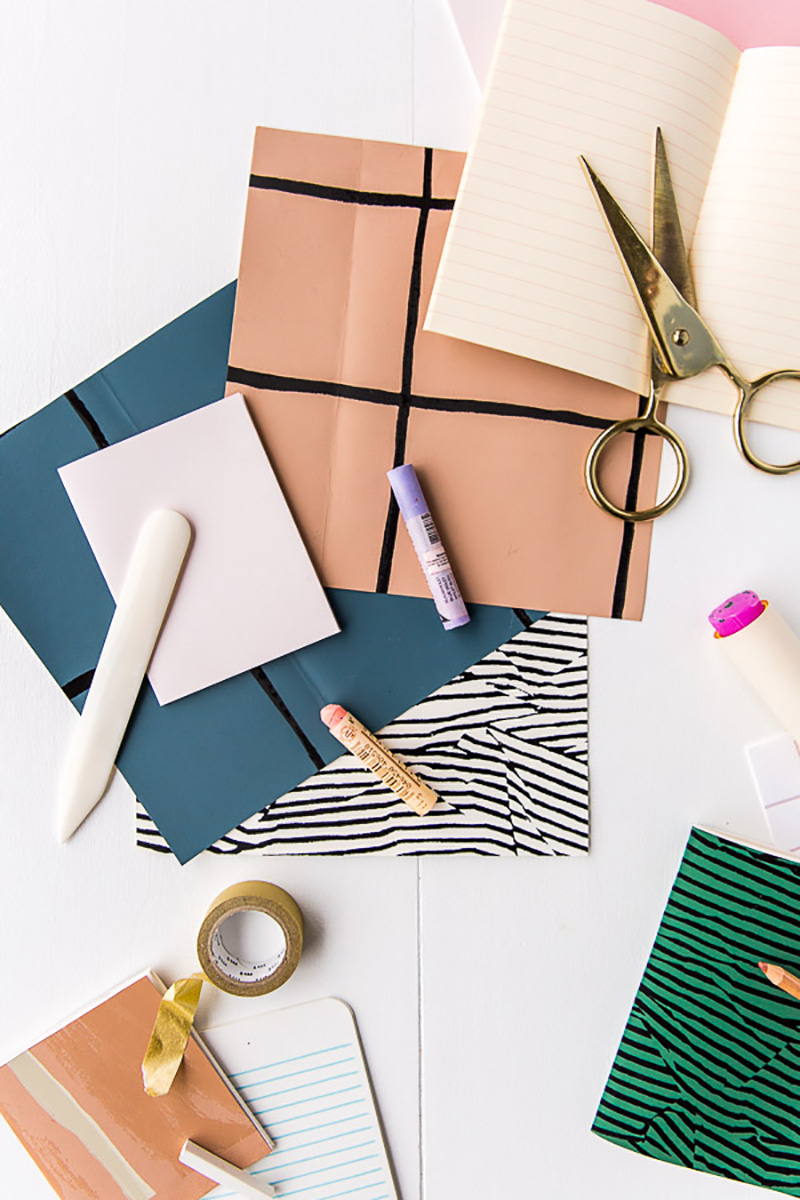
4 DIY Calligraphy Crafts To Try
Page
1
Page
2
Page
3
next