• Contact
  • Skip to primary navigation
  • Skip to main content
  • Skip to primary sidebar
  • Skip to footer

Happy Hands Project

Calligraphy by Pauline Ibarra

  • Home
  • Workshops
    • Private Calligraphy Events
    • Terms and Conditions
  • Services
    • Weddings Suites
    • Onsite Events
    • Custom Art
  • SHOP
    • Etsy
    • Prints
    • Digital Assets
  • Press
  • ABOUT
  • Contact
  • Blog

Handmade How-To: DIY Golden Centerpiece

December 2, 2013

Gold Leaves Centerpiece via Happy Hands Project

We had an abundant supply of dried leaves around the neighborhood a couple of weeks ago, and I thought, why not transform these supposedly useless things into something useful? If you’ve read about my addiction with gold paint, you’ll understand why I came up with this DIY. I need to spray gold paint!

This is super easy, you’ll have a great centerpiece on an otherwise boring space in no time.

Here are the things I used:

  • A bunch of full, dried leaves (make sure they’re not torn!)
  • Gold spray paint (I used Pylox, but feel free to use another brand)
  • Newspapers
  • Wide-mouthed jars in various sizes and heights (I used 3)

Here’s how to make a simple centerpiece like I did:

{01}
Collect dried leaves. Select those that are not too small, but make sure you have a variety of sizes. I collected a lot but ended up selecting about 20. Oh, and it also helps to have an eager beaver little helper with a bag. Don’t ask me, she put that headband on her head saying it was her ‘crown’.

Gold Leaves Centerpiece via Happy Hands Project

{02}
Select the best leaves – use your judgement here. I retained those that were not too twisted or coiled. I also took some thin and wide ones.

Gold Leaves Centerpiece via Happy Hands Project

{03}
Set up your spray painting area! Make sure you are in a well-ventilated place and cover the floor with newspapers. Lay your leaves down and get your paint ready by shaking it for about 30 seconds.

{04}
Start with short bursts of paint directed to your leaves. Just spray lightly at first, moving around horizontally until all your leaves are gold. I kind of did a triple coating because I want my leaves to be rich gold.

Gold Leaves Centerpiece via Happy Hands Project

{05}
Leave your painted leaves to dry, which may take about half an hour to an hour, depending on how many coats of paint you sprayed. When they’re fully dry, turn them and start spraying the other side.

{06)
The fun part and finale! Gather your jars and start filling them with gold leaves. I found out that it’s nicer to use leaves of different lengths so that some stay in while the others stick out. It’s also nice to combine straight leaves with slightly curved ones.

Gold Leaves Centerpiece via Happy Hands Project

There you go! You can place it in your living room or dining table, or fill a shelf with lined up jars. You can also swirl some fairy lights around the jars for that Christmas vibe. I hope you’ll enjoy making these as much as I have!


Gold Leaves Centerpiece via Happy Hands Project


in crafting # autumn, DIY, fall, gold

Reader Interactions

you may also like
Handmade How-To: Botanical Note Cards Using Dingbats
Handmade How-To: DIY Gold Note Cards
Craft Haul From the Singapore Craft Fair
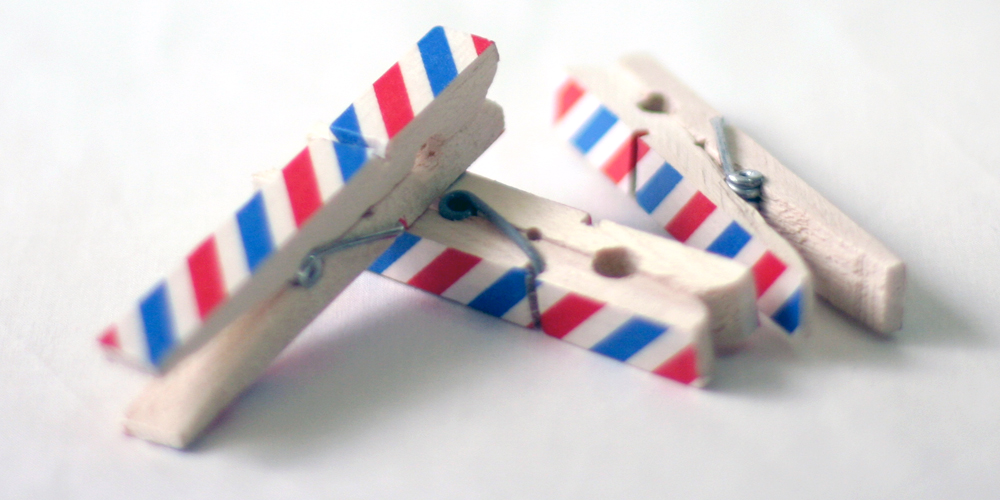
Washi Tape Covered Wooden Pegs

Leave a Reply Cancel reply

Your email address will not be published. Required fields are marked *

Primary Sidebar

WELCOME!

I’M GLAD YOU DROPPED BY!

Hello! I’m Pauline and welcome to the Happy Hands Project! I’m a lettering artist and calligrapher located in Manila, Philippines.
read more

Register your interest to the workshops!

READERS ARE LOVING
Calligraphy Coffee Mugs
4 Calligraphy Tools
8 Ways to Save Money

I recommend

Calligraphy & Wax Sealing Workshop with Café Mary Grace

Footer

Pink pen practice
Write different variations
Capital D in

Latest ‘Grams

happyhandsproj

Calligraphy by Pauline Ibarra 🖋️ 
💌 For inquiries and commissions, DM or email 
Check out what's latest here ⬇️

If you’re visiting Tokyo for stationery, don’t ove If you’re visiting Tokyo for stationery, don’t overlook Loft Ikebukuro! ✨
 
While the Shibuya and Ginza branches are popular, I found the Ikebukuro location easier to browse because it felt less crowded during my visit. It also had a great selection of notebooks, pens, inks, and journaling supplies, so I never felt like I was compromising by skipping the busier stores. 
 
It’s four levels within the Seibu Department Store and is just beside the train station. There’s also a small cafe where my kids hung out, while my husband and I took turns shopping.  
 
If you only had time for one Loft, which would you choose? 
 
#loftikebukuro #tokyostationery #japanstationery #penandink #tokyotravel
✨ Kakimori Inks, first impressions! I finally got ✨ Kakimori Inks, first impressions!

I finally got to try the two inks I picked up from @kakimori_japan in Tokyo—Tototo, a rich deep magenta, and Harvest Gold, a warm golden mustard.

Both are beautifully saturated and flowed effortlessly with my glass pen from @auneda. Which one would you add to your collection? 💛💜

#Kakimori #FountainPenInk #inkstandbykakimori #cursivepractice
It’s Friday! ✨    Practice has been non-existent l It’s Friday! ✨ 
 
Practice has been non-existent lately, hence my uncial’s a little shaky. So I’m pairing this with some Michael Jackson to make up for it.  
 
Friday night means we get to order kebabs for dinner and afterwards I can sit and watch Netflix while eating a slice of sticky chocolate cake (which I learned is a Swedish recipe, and I made it myself).  
 
Yay weekend! 
 
#uncialcalligraphy  #uncial #sheafferpen
The perfect palette match. 🍵✨    I bought the Kaki The perfect palette match. 🍵✨ 
 
I bought the Kakimori Frost pen in moss specifically for my sweet-scented milky matcha ink. They’re a perfect pair! No performative aesthetics here, just pure writing satisfaction.  
 
#fountainpen #kakimori #kakimorifrost #arcusartisaninks #cursivepractice
Follow on Instagram
2024 © HAPPY HANDS PROJECT
made by soulmuse