• Contact
  • Skip to primary navigation
  • Skip to main content
  • Skip to primary sidebar
  • Skip to footer

Happy Hands Project

Calligraphy by Pauline Ibarra

  • Home
  • Workshops
    • Private Calligraphy Events
    • Terms and Conditions
  • Services
    • Weddings Suites
    • Onsite Events
    • Custom Art
  • SHOP
    • Etsy
    • Prints
    • Digital Assets
  • Press
  • ABOUT
  • Contact
  • Blog

3 WAYS TO MAKE YOUR BRUSH LETTERING UNIQUE

August 2, 2018

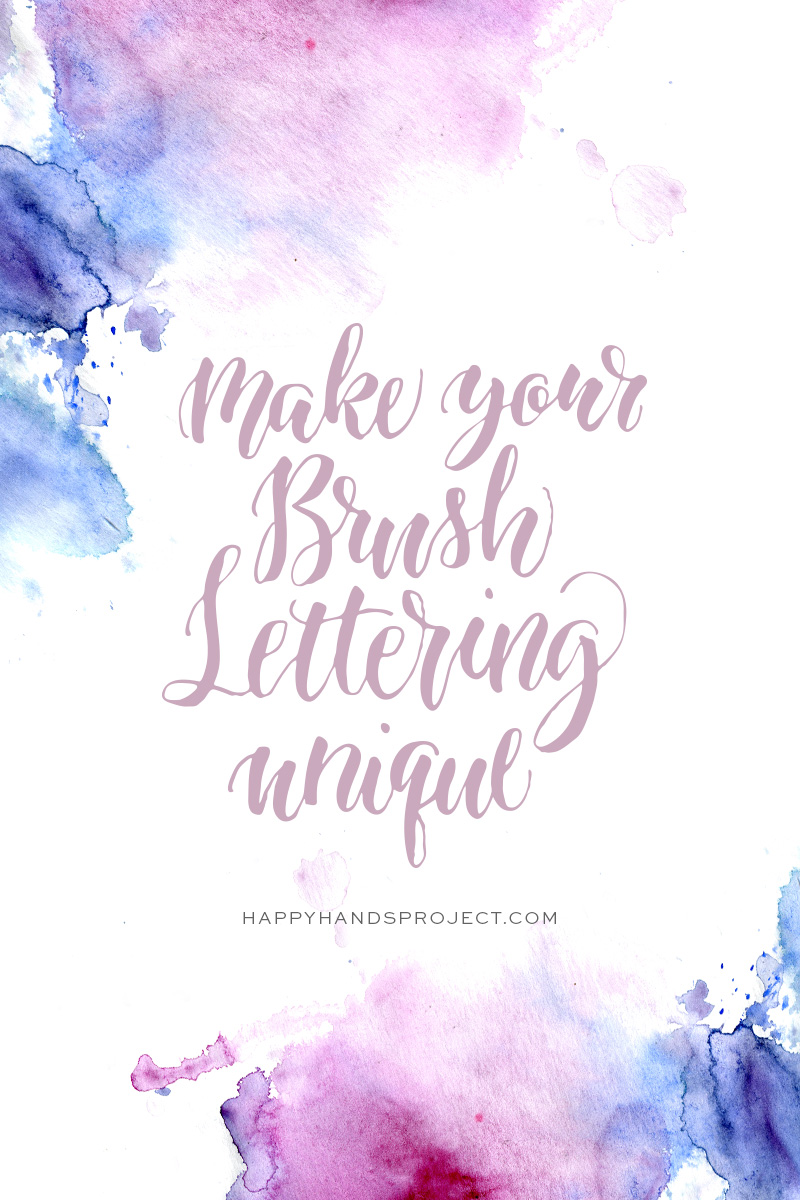
Make Your Brush Lettering Unique via Happy Hands Project

Hello brush lettering beginners! How do you make your brush lettering pieces unique? You have mastered the technique of using the brush pen and you’re even able to write beautiful lettering with it. The next step now is to make your brush lettering unique and different from your usual pieces.

I started out just writing in straight lines. I would centralize the words then that’s it. That’s what beginners normally do. But how do you make your brush lettering unique? Here are 3 ways that I use to give my pieces a bit more oomph:

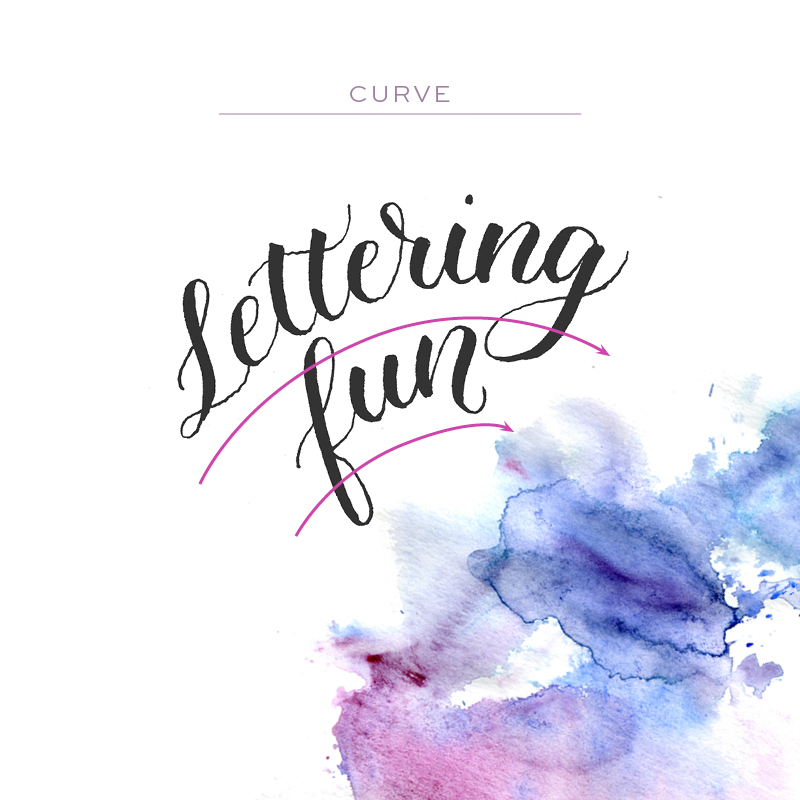
FORM A CURVE
Make Your Brush Lettering Unique via Happy Hands Project

Sketch some curves lightly on your paper so you can plan where to place your words. Keep the hierarchy in mind—the most important word should be biggest to create more impact. Write your words in a slight curve to make it more interesting. Make the curve a bit wide for easier readability. Steeper curves might be more difficult to write on and read.

WRITE DIAGONALLY
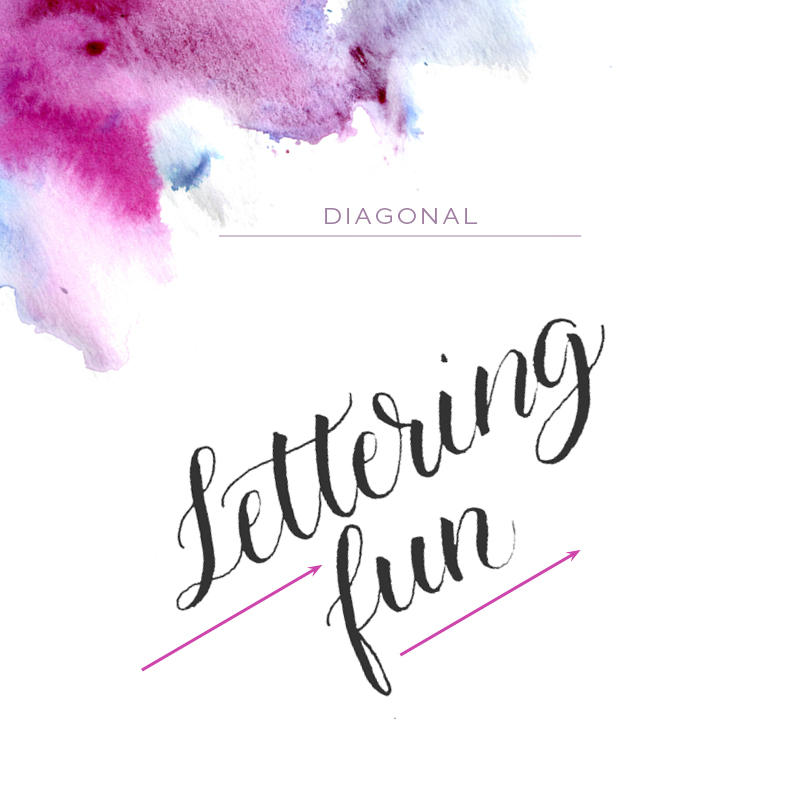
Make Your Brush Lettering Unique via Happy Hands Project

Draw your guidelines either freehand or with a ruler. You can position all your words in the middle or stagger them slightly. The most important thing is to pack your words close enough so you don’t create big gaps that would be noticeable. Fill those negative spaces!

BOUNCE YOUR LETTERS
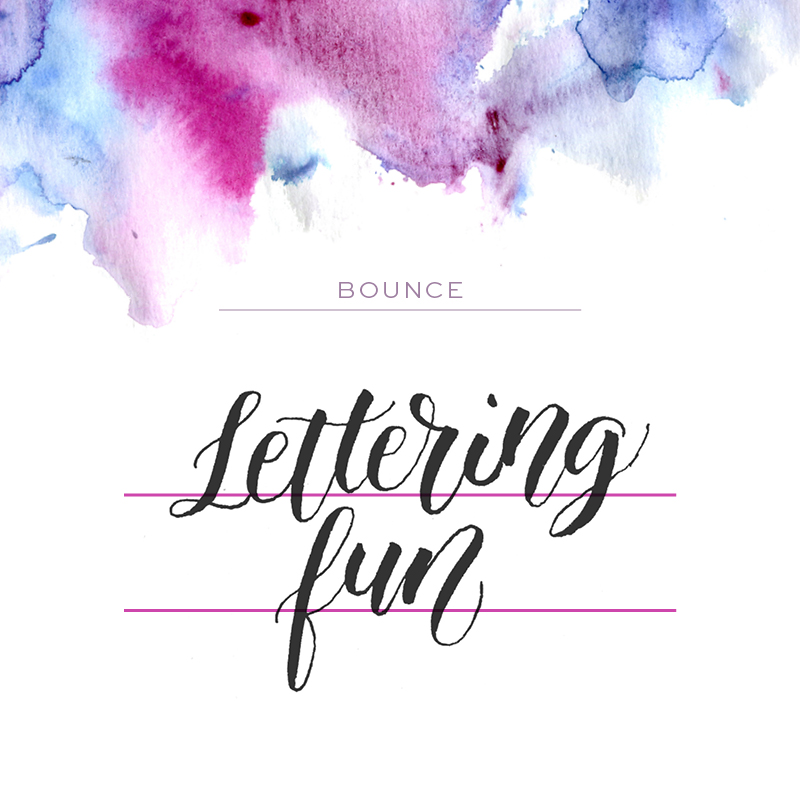
Make Your Brush Lettering Unique via Happy Hands Project

If you haven’t tried this before, it may seem tricky because you would need to create a balance even when the letters do not touch the baseline. Draw your straight lines first. These will serve as a guide so you will still have letters that touch the baseline. The first letter of the word should touch the line first, then try raising and lowering the next few letters. Stop every so often to check the balance. If your letters seem to be going up, lower the next letter.

Bouncing letters requires some getting used to, but it’s a fun way to make your usual brush lettering style into something different.

There are endless styles that can make your brush lettering even more unique, so I’ll make sure to compile a new set next time. Now it’s time to practice! Looking for brush pen recommendations? You can hop here to see my favourite pens.
in calligraphy, lettering # brush, calligraphy, tips

Reader Interactions

you may also like
Calligraphy & Wax Sealing Workshop with Café Mary Grace
Learning French Roundhand at the Manila Pen Show 2026
Calligraphy on Capiz Shells
Pen Review: Honey Glass Pens from Thailand

Leave a Reply Cancel reply

Your email address will not be published. Required fields are marked *

Primary Sidebar

WELCOME!

I’M GLAD YOU DROPPED BY!

Hello! I’m Pauline and welcome to the Happy Hands Project! I’m a lettering artist and calligrapher located in Manila, Philippines.
read more

Register your interest to the workshops!

READERS ARE LOVING
Calligraphy Coffee Mugs
4 Calligraphy Tools
8 Ways to Save Money

I recommend

Calligraphy & Wax Sealing Workshop with Café Mary Grace

Footer

Pink pen practice
Write different variations
Capital D in

Latest ‘Grams

happyhandsproj

Calligraphy by Pauline Ibarra 🖋️ 
💌 For inquiries and commissions, DM or email 
Check out what's latest here ⬇️

If you’re visiting Tokyo for stationery, don’t ove If you’re visiting Tokyo for stationery, don’t overlook Loft Ikebukuro! ✨
 
While the Shibuya and Ginza branches are popular, I found the Ikebukuro location easier to browse because it felt less crowded during my visit. It also had a great selection of notebooks, pens, inks, and journaling supplies, so I never felt like I was compromising by skipping the busier stores. 
 
It’s four levels within the Seibu Department Store and is just beside the train station. There’s also a small cafe where my kids hung out, while my husband and I took turns shopping.  
 
If you only had time for one Loft, which would you choose? 
 
#loftikebukuro #tokyostationery #japanstationery #penandink #tokyotravel
✨ Kakimori Inks, first impressions! I finally got ✨ Kakimori Inks, first impressions!

I finally got to try the two inks I picked up from @kakimori_japan in Tokyo—Tototo, a rich deep magenta, and Harvest Gold, a warm golden mustard.

Both are beautifully saturated and flowed effortlessly with my glass pen from @auneda. Which one would you add to your collection? 💛💜

#Kakimori #FountainPenInk #inkstandbykakimori #cursivepractice
It’s Friday! ✨    Practice has been non-existent l It’s Friday! ✨ 
 
Practice has been non-existent lately, hence my uncial’s a little shaky. So I’m pairing this with some Michael Jackson to make up for it.  
 
Friday night means we get to order kebabs for dinner and afterwards I can sit and watch Netflix while eating a slice of sticky chocolate cake (which I learned is a Swedish recipe, and I made it myself).  
 
Yay weekend! 
 
#uncialcalligraphy  #uncial #sheafferpen
The perfect palette match. 🍵✨    I bought the Kaki The perfect palette match. 🍵✨ 
 
I bought the Kakimori Frost pen in moss specifically for my sweet-scented milky matcha ink. They’re a perfect pair! No performative aesthetics here, just pure writing satisfaction.  
 
#fountainpen #kakimori #kakimorifrost #arcusartisaninks #cursivepractice
Follow on Instagram
2024 © HAPPY HANDS PROJECT
made by soulmuse