I love washi tape. I can hear a chorus of ladies screaming at me now, saying, “WHO DOESN’T?”. It has now been a staple in my treasure trove of crafting supplies.
I remember buying my first six rolls of mt Tape in Tokyo a few years ago, not really knowing what I’d do with them. Fast forward to 2013, and I’ve got rolls and rolls of these colorful paper tapes! I order them from all over – from US and HK shops in Etsy to local shops here in Singapore. You might say I’m a bit weird, because I have this certain attachment to things. I love my washi tape stash so much that I feel that every project I use it for should be useful, and working on it should be simple yet worthwhile.
Last month I was thinking of putting up buntings with my little family’s photos attached to wooden pegs. Well, I must admit I never got to printing the photos yet (let alone selecting which ones get printed!) so I started on ‘prettifying’ my pegs first. And this is so not a tutorial. This is something so straightforward that it doesn’t need much explanation!
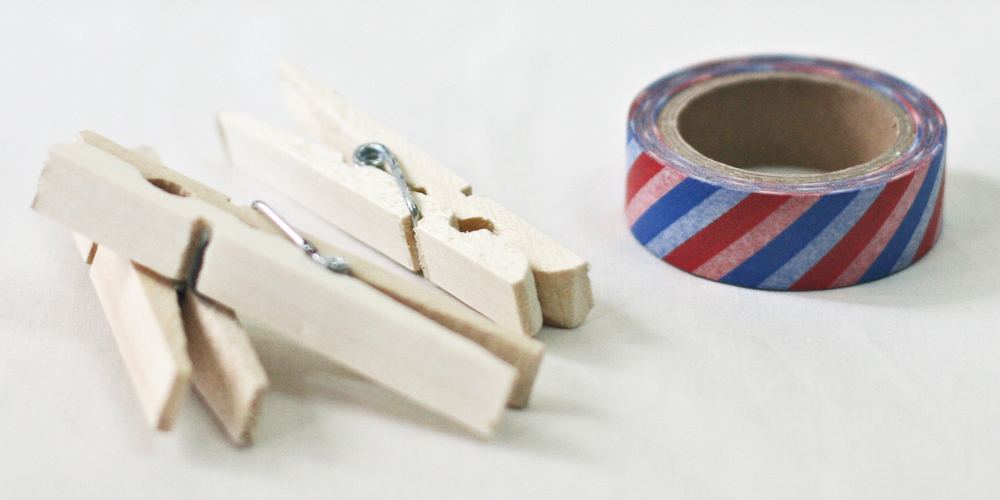
All you need is a roll (or a dozen rolls – that’s up to you!) of washi tape, plain wooden pegs, a sharp cutter or X-Acto knife, and a rubber cutting mat or a stack of newspapers.
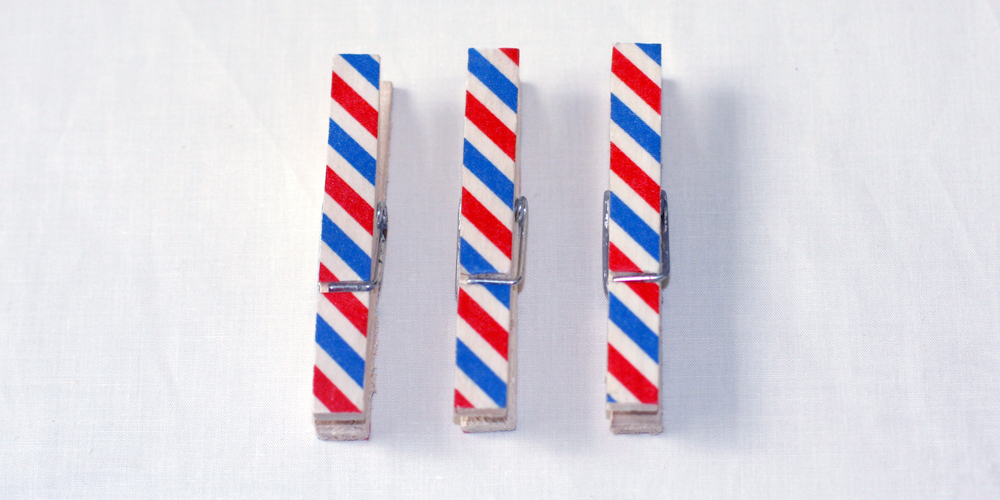
- Align one side of your tape to one side of your peg. Don’t worry about not getting it perfect the first time as washi tape doesn’t stick to the wood like Superglue. Just lift it and re-align.
- Turn the peg over and trim off the excess (make sure your newspapers are thick enough so as not to scratch the table’s surface!).
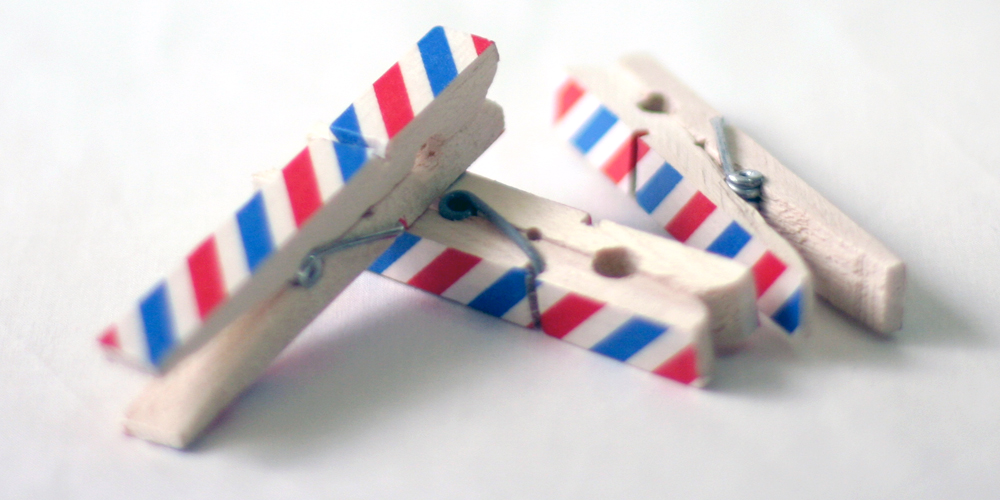
- Turn your tape-covered peg upright. Do you see a gap there? Cut the tape that covers the gap and carefully tuck the tape within that space.
- Do the same for the other side of your peg!
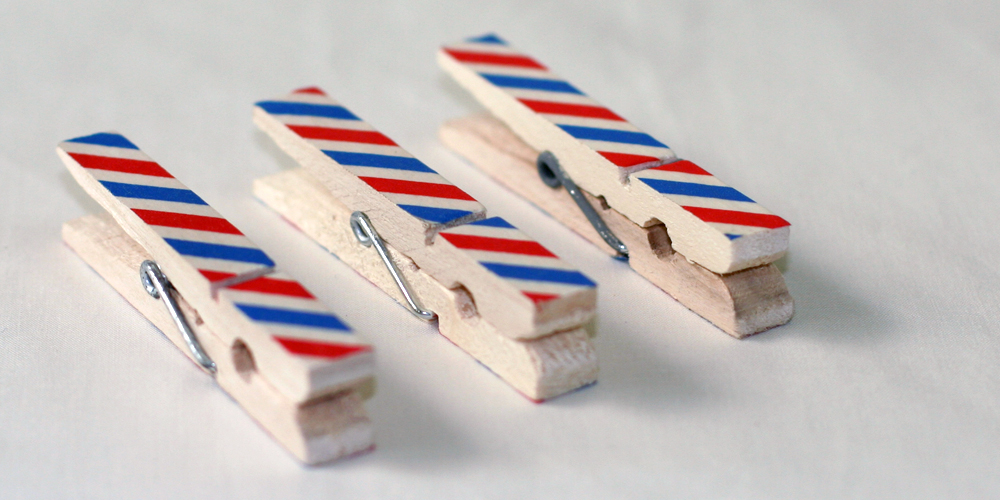
Ain’t it so fun and simple? I cannot wait to use these wooden pegs now.

Hi Pauline! Cute blog! 🙂 I love washi tape too and this is a neat tutorial!
Hi Drea! Thanks for dropping by! Washi tapes are so cute, I’m always looking for ways to use them. 🙂